HowTo: Upgrade VMware Tools on a Windows PVS Image Without Reverse Imaging
Introduction
Since the inception of PVS, it has long been a necessary evil to reverse image a vDisk to a standard disk format in order to perform updates on components that affected the network stack of the OS, as PVS depends on it for streaming image contents. This was often a requirement for VMware Tools and PVS target device software. Luckily, PVS 7.6.1 introduced a method of updating the target device software for PVS within an image, without the need to reverse image. Unfortunately, we’re still stuck with the issue with VMware Tools.
As per Citrix’s guidance, when it comes to upgrading VMware Tools on PVS vDisks, it is recommended to reverse image the vDisk to a standard VMDK ahead of installing the updates. This is a necessary activity as the VMware Tools update replaces network drivers (such as VMXNET3) which PVS’s target device subsystems depend on. Think of it as trying to mop the floor you’re standing on without means to step away. Not the easiest feat.
Once the image reversal process is completed you can then upgrade VMware Tools and capture the image once again to a vDisk for delivery to target devices via PVS. This can be a lengthy process for some organizations, which is often why I see out of date VMware Tools in my consulting adventures. Turns out there is a quick way do upgrade VMware tools without the lengthy reverse image method. Working with a customer, this entire process took a total of 15 minutes. Less than the time it would take to complete the image reversal.
The following steps below describe how to update VMware Tools without reverse imaging, saving significant time.
Note: This method has been tested for PVS version 7.9+. It may not work in previous versions.
Instructions
- Launch the PVS console
- Place the PVS Vdisk in private mode. (Changes will be persistent)

- Power on VM
- While the machine is booted, navigate to the VMware console and edit the settings of the VM.
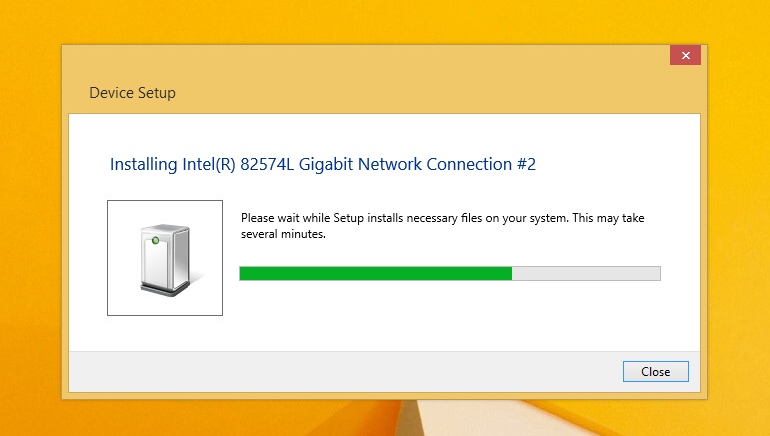
- Select add a new device and add in a second network interface card. Ensure the type of card is E1000

- The VM will automatically detect the newly added hardware.
- Wait until Windows installs the network driver and power down the machine.
- Navigate back to the VM console and record the MAC address of the newly added E1000 network card.
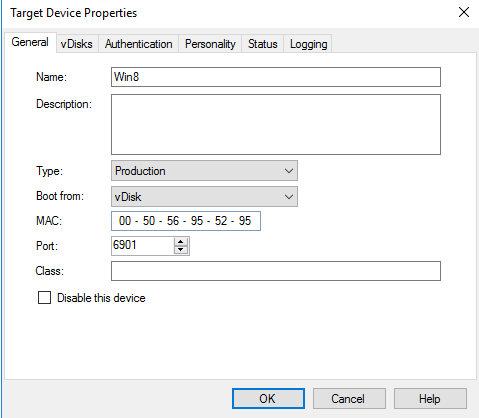
- Return to the PVS console and edit the target device properties. Edit the MAC address to reflect the address of the E1000 card that was recorded in the previous step.
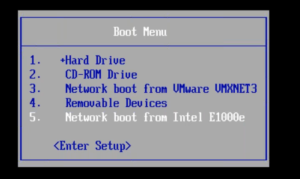
- Power on the VM and access the boot menu (You may need to change bios settings to access this menu)
- Select the E1000 card from the boot devices. The machine should boot from the newly added card.
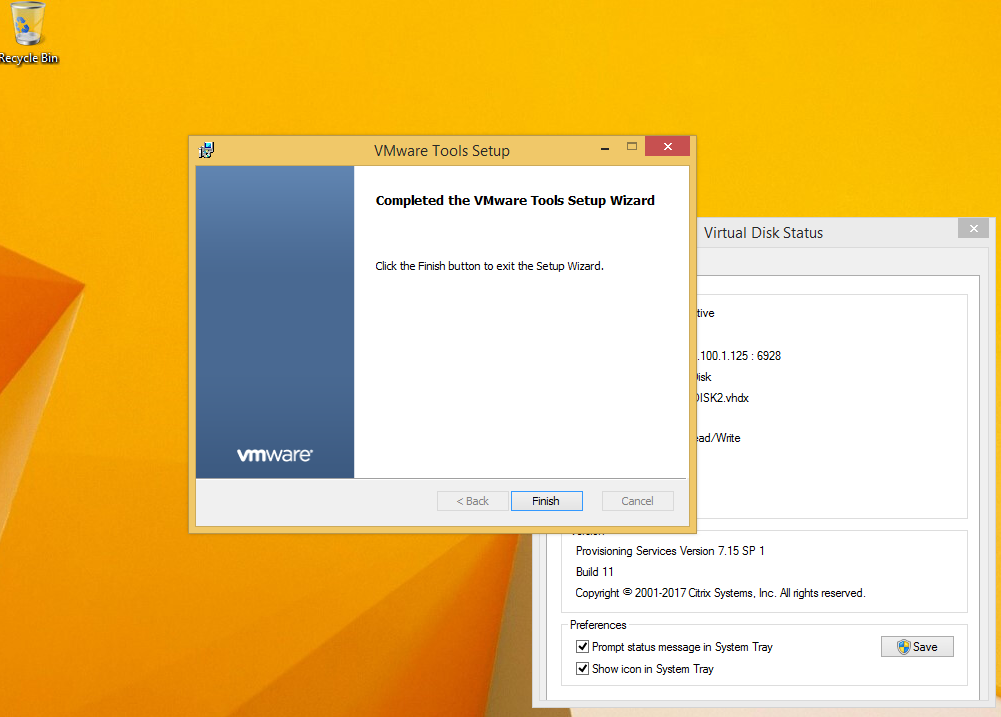
- Once booted, update VMware Tools as you normally would any standard VM. The VMXNET3 driver will update without any disconnects from the streamed vDisk.
- Once updated, shutdown the VM. Navigate back to the VMware console and remove the E1000 network adapter from the VM settings
- Return to the PVS console and edit the target device properties. Edit the MAC address to reflect the original VMXNET3 network card.
- Power the machine back on.
- Open device manager and select view hidden items. Expand the network adapters section. Locate the E1000 device, right click and select uninstall.
- Once uninstalled. power down the VM and head back to the PVS console to switch the vDisk back to standard mode. (Read only)
- Your VMware Tools is now updated. You may power on the VM’s using the image in standard mode


Very kool
Very nice workaround buddy, glad you shared!
Wow, great tip, worked perfectly on PVS 2012. Thanks for the tip!!
I’ve spent 2 days trying to get this to work on a Windows 10 master, that uses vSphere. I start the master device, add the e1000, not the MAC, power down the machine. Change the MAC in PVS Console for that machine. Start the machine, ESC, select e1000 nic, and it never gets an IP. It stops there with failure to boot. Any suggestions? When the e1000 NIC is added, it connects, and gets an IP (DHCP). But once it’s powered off, and the MAC changed in the device in PVS, it will not boot to that NIC. 7.15 Citrix,… Read more »
Same thing for me. Doesn’t seem to work with 1912.
What bootstrap method are you leveraging? TFTP or BDM?
tsbbdm.bin (BDM)
If you are able to get a IP address from the E1000 while its booted, try this Rick.
Boot vDisk
Add E1000 NIC, let the drivers install
Shutdown
Remove all NICs
Add E1000 NIC
Update the MAC Address in PVS to E1000 NIC
Boot vDisk
Add VMxNET3 NIC
Updated VMware Tools
Shutdown
Remove all NICs
Add VMxNET3 NIC
Updated the MAC Address in PVS to VMxNET3 NIC
Boot vDisk
Remove ghost nic in device manager.
I get as far as updating MAC for e1000 in PVS, but it never seems to get a DHCP address on reboot.. That’s where it fails. I even give the MAC a reservation in DHCP (also residing on PVS server) and it never gets an address.
Same thing happening with me,
Once I add the E1000 and keep both NIC, Change MAC on PVS,
boot machine from VM console,
It never gets any IP, I followed every single step as well as confirmed, all drivers are updated for New NIC when it gets added.
Same thing happening with me,
Once I add the E1000 and keep both NIC, Change MAC on PVS,
boot machine from VM console,
It never gets any IP, I followed every single step as well as confirmed, all drivers are updated for New NIC when it gets added