
Citrix is transitioning from file-based licensing to the License Activation Service (LAS), and as a result, XenServer environments must be updated to remain supported beyond the April 2026 deadline. While the change appears straightforward on the surface, the reality is much more involved, especially in environments that are not yet aligned with LAS requirements. This blog walks through the practical steps required to bring a XenServer deployment into compliance, based on real experience, including where licensing dependencies, update paths, and tooling limitations can introduce friction and how to navigate them effectively.
Environment Summary
This exercise was performed on the environment that consisted of a single on-premises XenServer physical host within one host pool. Prior to migrating to the Citrix License Activation Service (LAS), the host was running XenServer version 8.4.0 with the following internal component versions:
- Xen Hypervisor: v4.17.5-10
- Linux Kernel: v4.19.0+1
- xapi_build: v25.15.0
Although the platform was running XenServer v8.4.0, this build did not support cloud-based licensing.
Following the upgrade, the target configuration remains XenServer v8.4.0 but with updated internal components:
- Xen: v4.17.6-2
- Linux Kernel: v4.19.0+1
- xapi_build: v26.1.3
These updated components enable support for cloud-based licensing through the Citrix License Activation Service (LAS).
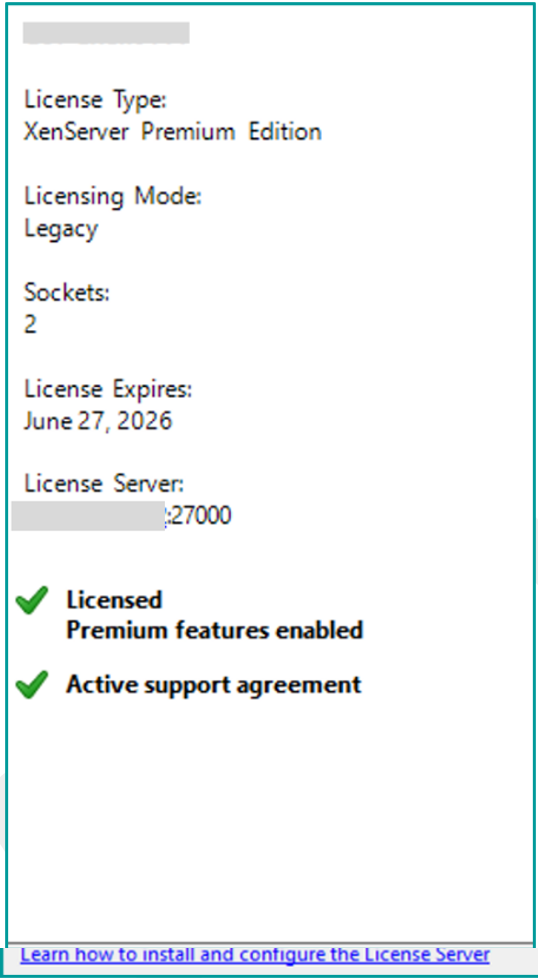
The XenServer host is connected to a Citrix License server that has valid XenServer Premium Edition licenses. The XenServer deployment was accessed using XenCenter v2025.5.0 (build 8486) 64-bit.
After successfully upgrading the Citrix License server to version v11,17.2.0 build 53100 (the minimum version that supports LAS), we were able to register it with Citrix Cloud, as illustrated below.
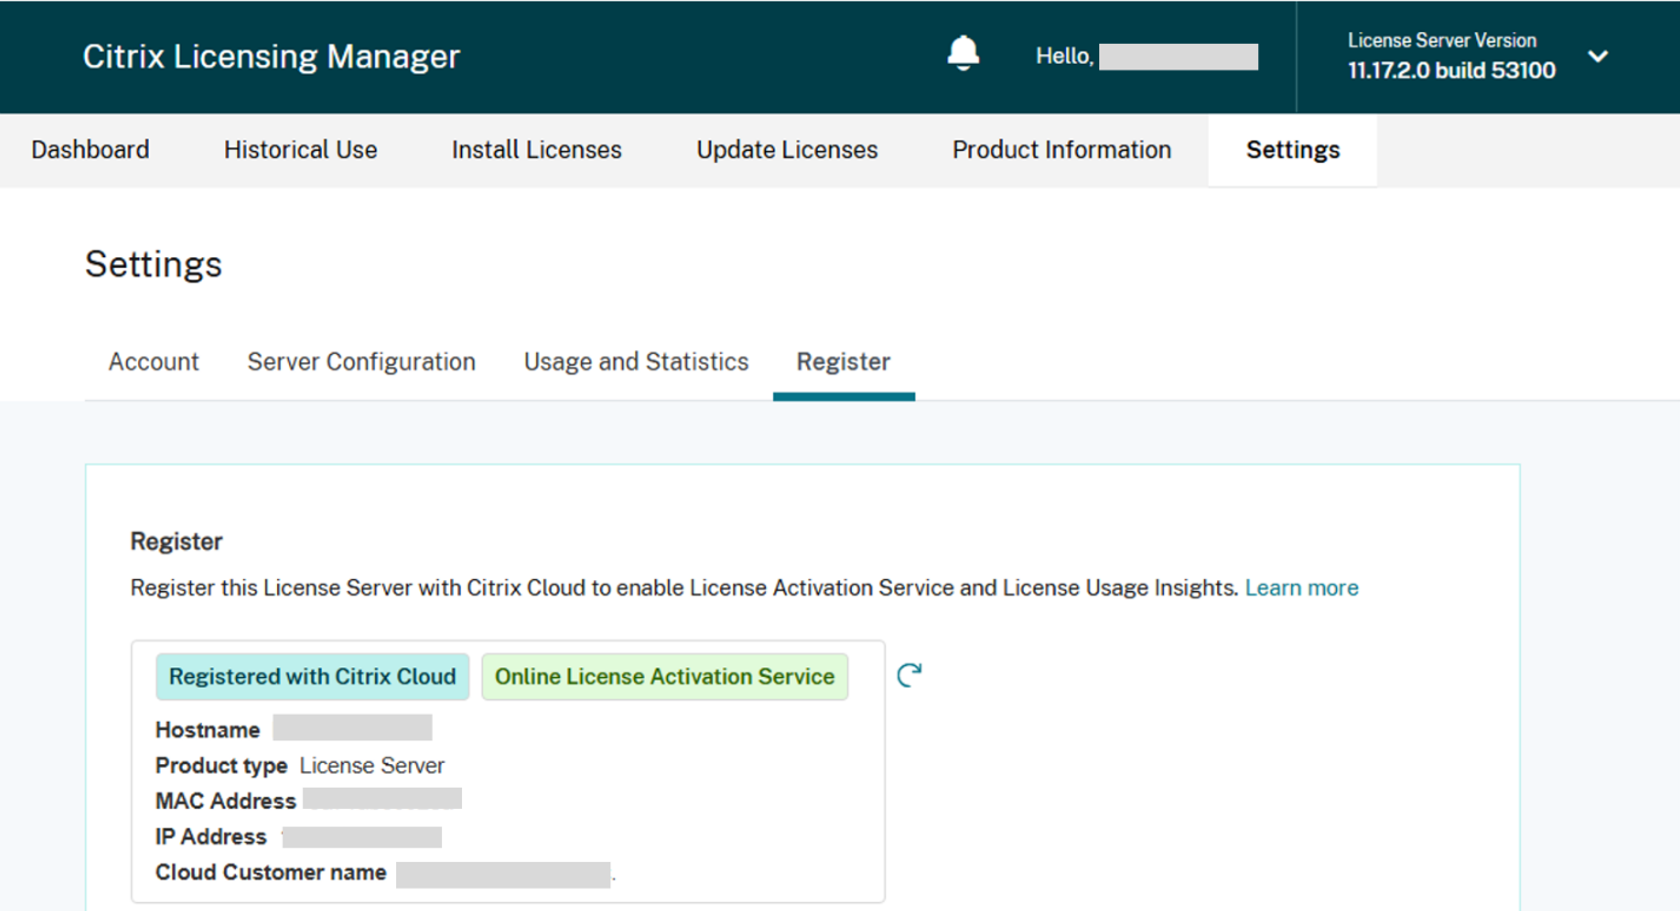
Once the Citrix license server is registered with the Citrix cloud, log in to your Citrix Licensing Manager and ensure that you have the entitlement with valid Citrix Licenses, as shown in the following image.

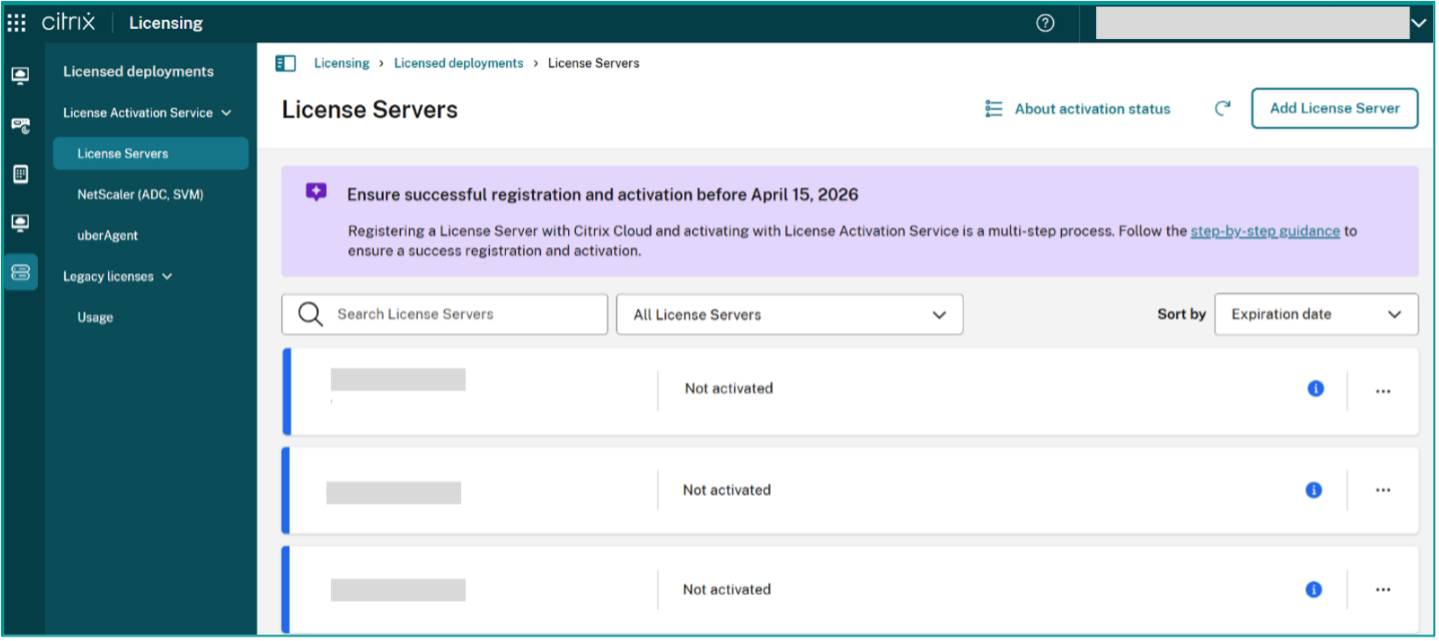
Even though the Citrix License server successfully registered in Citrix Cloud Console, the status of the Citrix License servers was still blue, and “Not activated”.
That is because this environment did not have valid on-premises LAS-supported Citrix products registered with the License server. To verify for XenServer, log in to XenCenter and check the License Manager, which in this case showed: “Your system is not compatible with License Activation Service (LAS). You must install the latest updates”, as illustrated in the following image.

This is the condition that had to be resolved so the XenServer host would support the LAS model.
Prerequisites
The following table lists the ordered sequence of prerequisites that must be completed before performing the XenServer upgrade.
| Item | What it does |
|---|---|
| Backup all VMs data/metadata | Option 1 – backup entire VM including disk data: Run command: xe vm-export vm='<vm_uuid>’ filename=vmbackup-$(date +%F_%H%M) metadata=true Option 2 – backup entire VM without disk data: Run command: xe vm-export vm='<vm_uuid>’ filename=vmbackup-$(date +%F_%H%M) Note: before VM backup, VM must be powered off, as the entire VM backup creates a much larger file. In this scenario, we only backup the metadata. |
| Backup pool and hosts metadata | Run command: xe pool-dump-database file-name=pool-metadata-$(date +%F_%H%M).xml Verify the backup file: xe pool-dump-database file-name=pool-metadata-2026-02-25.xml dry=run-true |
| Backup hosts data | In XenCenter, select the server/host in the left pane. – Top Menu Server > Back Up. – Choose the target backup folder (not on the host), enter a filename (XenCenter uses .xbk). – Click Save and monitor progress in Notifications > Events. For example, save the backup file to the following client workstation/laptop folder: C:\temp\XenServer backup 20260225\dc1xen-host-backup-file-20260225.xbk |
| Export backup files | Save all backup files to a safe external location in case a backup restore becomes necessary. |
| Final bundle file prep and ISO downloads | Prepare to patch update file from: Bundles for Offline Deployments. In this scenario, our target is February 16, 2026 bundle offline-update-xs8-2026-02-16.xsbundle Save Xenserver v8.4 ISO installation file in case a completely new installation is required in teh event of fatal/failed updates. XenServer 8 and Trial Edition Downloads |
Instructions
The following steps outline how to perform the XenServer upgrade (note: if possible, avoid using the XenCenter GUI to perform the upgrade; instead, use bash in SSH):
- Create an offline updates repository.
- Get the XenServer pool UUID.
- Bash: pool_uuid=$(xe pool-list –minimal)
- Create the bundle repository.
- Bash: repo_uuid=$(xe repository-introduce-bundle name-label=”LAS Offline Updates”)
- Tell the pool to use this new repository.
- Bash: xe pool-param-set repositories=< repo_uuid> uuid=<pool_uuid>
- Get the XenServer pool UUID.
Note: the recommendation to avoid using the offline updates setting in XenCenter GUI is because after configuring an offline update and uploading the bundle file, the XenCenter GUI will prompt the admin with an option to “Upgrade your server license to apply software updates to host”; however, in the ensuing step the button is disabled, which creates a loop that prevents moving forward since it is not possible to update license settings to support LAS, as the XenServer upgrade must first be performed.
- Upload and sync the bundle file.
- Bash: xe pool-sync-bundle filename=/var/backup/offline-update-xs8-2026-02-16.xsbundle
Note: this step may encounter an issue wherein it will return a failed message: “This operation is not allowed because your license lacks a needed feature. Please contact your support representative. feature: Updates “. This is because once the License server is upgraded to a LAS version, the current XenServer version is not compatible, thus the License mode will forbid the XenServer from receiving any updates. Check the licensing mode via this command: xe host-license-view
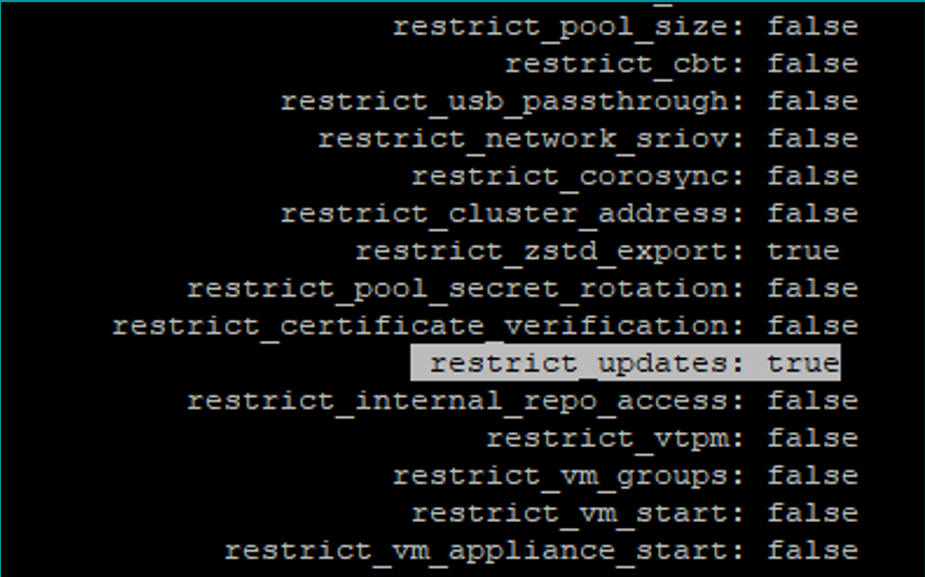
- At this point, the license mode is “restrict_updates: true”; to proceed, release the current license by running the command: xe host-apply-edition edition=trial host-uuid=<YOUR_HOST_UUID>
- Or via the XenCenter GUI:
- Open XenCenter.
- Click Tools in the top menu bar.
- Select License Manager.
- Check the box next to the host or pool.
- Click Release License.
- Re-verify, via Bash: xe host-license-view
- Note that the “restrict_updates” should now be “false”.
- Or via the XenCenter GUI:
- Upload and sync the bundle file again.
- Bash: xe pool-sync-bundle filename=/var/backup/offline-update-xs8-2026-02-16.xsbundle
- Retrieve the hash code, using the repository UUID.
- Bash: xe repository-param-get uuid=<REPO_UUID> para-name=hash
- The command will return the hash code.
- Apply the update.
- Bash: xe host-apply-updates uuid=<HOST_UUID> hash=<HASH_CODE>
- Note: Ensure all the VMs on this host have been powered off.
- Reboot the host.
- Bash: xe host-reboot uuid==<HOST_UUID>
- After reboot, log in to ssh, and run the command to verify that there are no remaining pending updates.
- Bash: xe host-param-get param-name=pending-guidences uuid=< HOST_UUID>
- Verify the version equals the target version (the expected version is v4.17.6).
- Bash: rpm -qa | grep xen-hypervisor

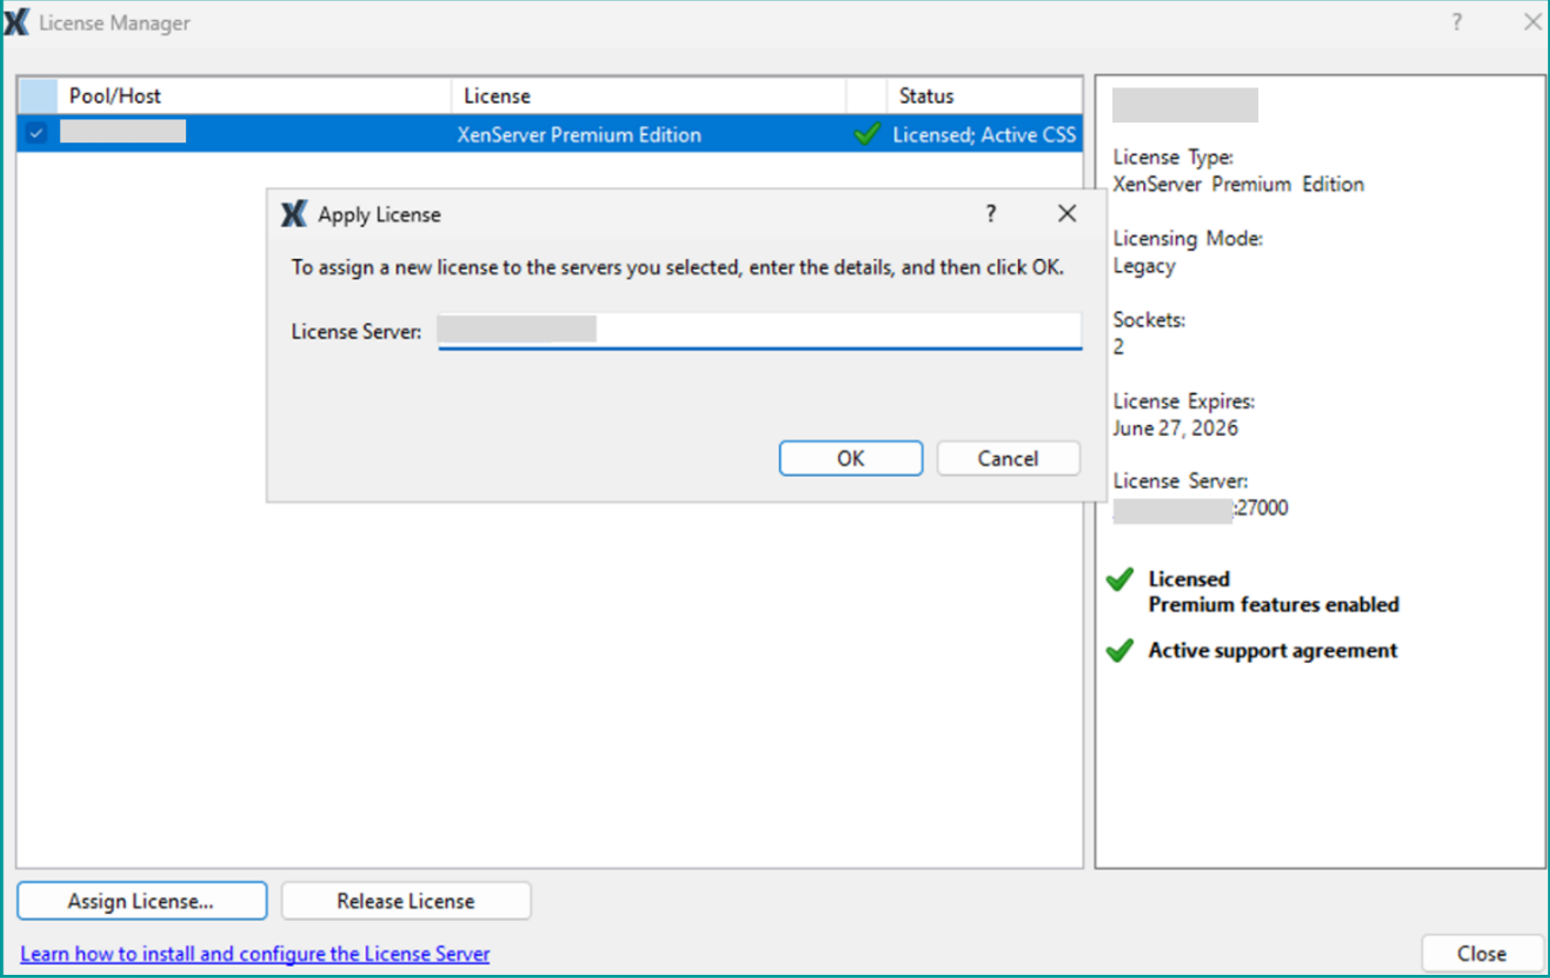
- Reassign the License server.
- Navigate back to XenCenter > License Manager.
- Select the host > click Assign License.
- Enter the Citrix License server IP address to re-apply the Premium per-socket license
Validation
At this point, the XenServer license status should be valid.
Note: configure port 27000 as the communication port and select On-Premises Premium Per-socket License (not the cloud license), since the license mode has not yet been migrated to cloud mode.
Navigate to Citrix Cloud account >Licensing > License Servers, and note that the License server activation status should now be green and indicate all LAS products are active.

Professional Tips
Summarizing a few key points from this overall process:
- XenServer Updates: Offline mode may be in a loop trap as the old version is not compatible with LAS, and using the GUI, administrators cannot achieve a smooth update path; thus, the recommendation is to switch to CLI to perform the update.
- Licensing can block updates (the “feature: Updates” trap), wherein the host shows licensing alerts such as “restrict_updates: true” and alerts such as “license lacks a needed feature… feature: Updates”. The workaround is to get “restrict_updates: false” and sync the bundle file again, and then do XenServer updates.
- Make sure all backups are available, and there is a recovery plan in place in the event it becomes necessary to recover/restore from any fatal issues.
Final Thoughts
The upcoming Citrix LAS model represents a critical timeline (April 15, 2026) with which all Citrix customers must be compliant, for all Citrix technologies, including XenServer.
Ferroque has been working to assist its customers with becoming compliant with the new LAS model, and would be happy to speak with you to discuss how we can help ensure your organization’s Citrix environment is compliant with the new Citrix LAS model. Contact us today to learn more.